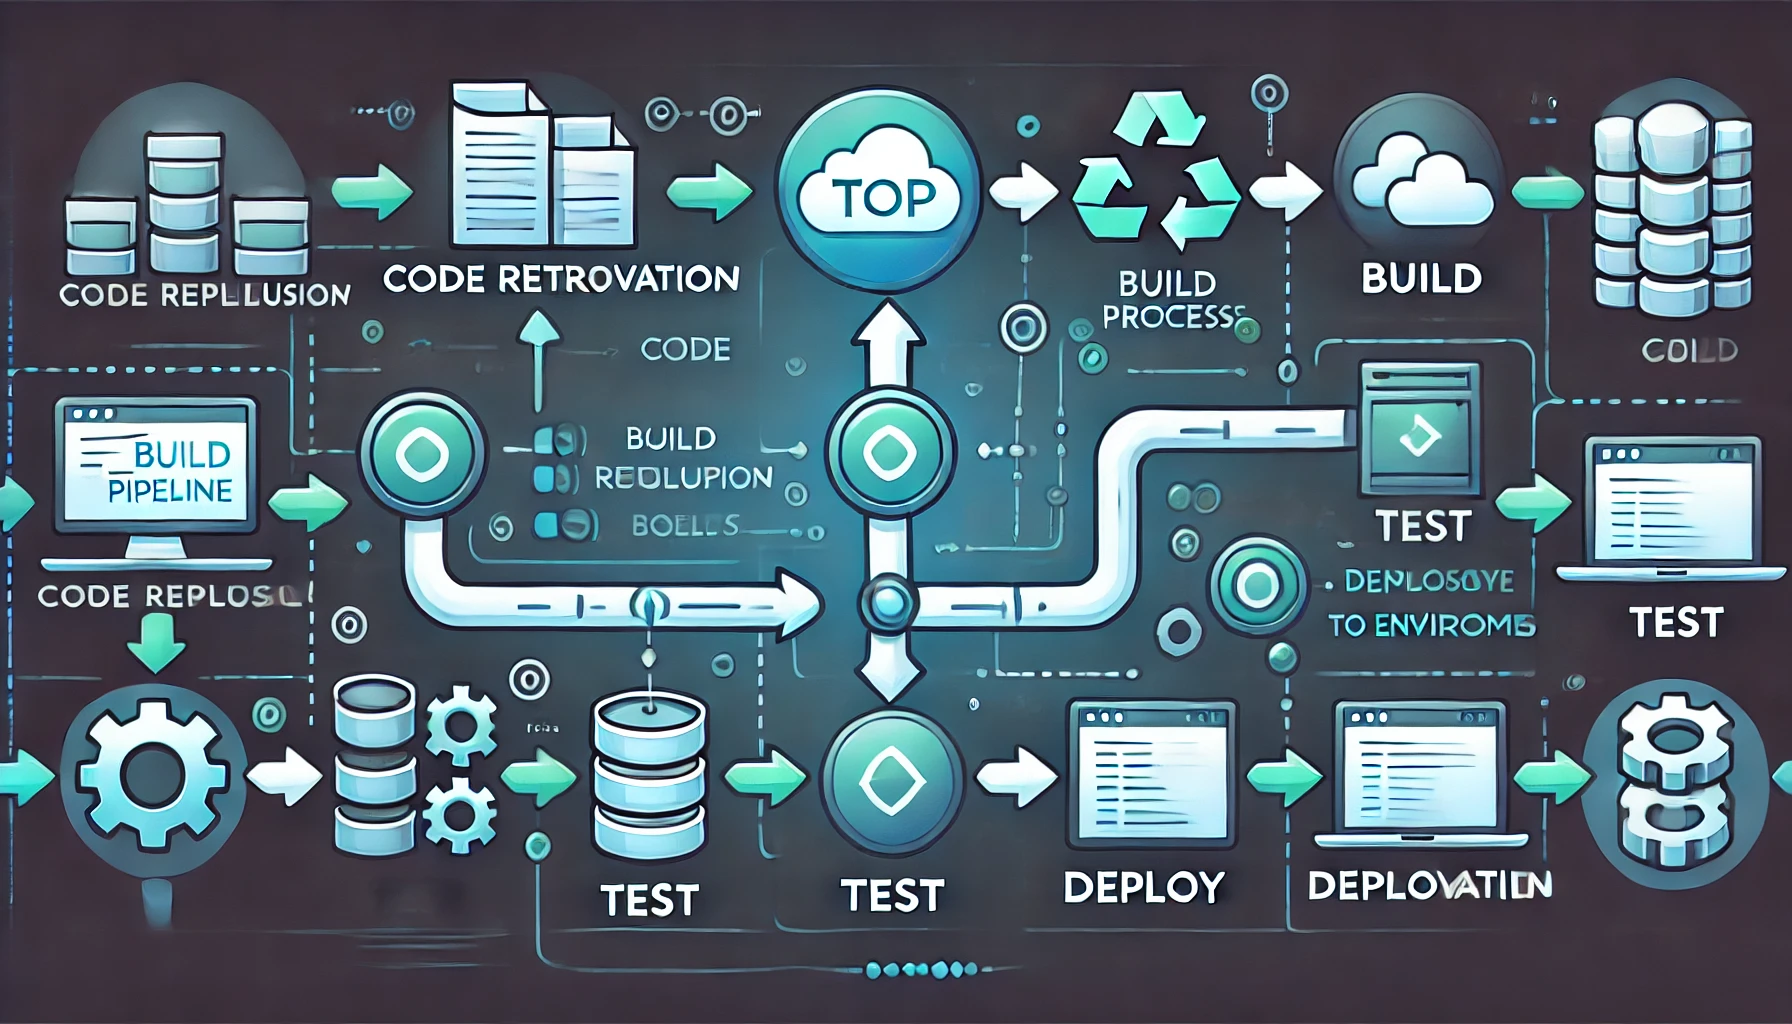
今日のトピックは「ビルドパイプラインの設定」です。ビルドパイプラインは、コードのビルド、テスト、デプロイを自動化するプロセスで、ソフトウェア開発における継続的インテグレーション/継続的デリバリー(CI/CD)の中心的な要素です。適切に設定されたビルドパイプラインは、開発の効率を向上させ、エラーの早期発見と迅速な修正を可能にします。
目次
基本概念の説明
ビルドパイプライン
ビルドパイプラインは、ソースコードの変更を自動的にビルドし、テストし、最終的にデプロイする一連のステップを指します。各ステップは、自動化されたツールやスクリプトによって実行され、エラーの早期発見やフィードバックループの短縮を目的としています。
ビルドパイプラインの主要なステップ
典型的なビルドパイプラインは、以下のステップで構成されます:
- コードの取得: ソースコード管理システム(例えばGit)から最新のコードを取得します。
- ビルド: 取得したコードをビルドし、アプリケーションの実行可能ファイルやパッケージを生成します。
- テスト: 自動化されたテストを実行して、コードの品質と機能を確認します。
- デプロイ: ビルドとテストが成功した場合、アプリケーションをテスト環境や本番環境にデプロイします。
各言語でのサンプルコード
Python (Jenkins)
pipeline {
    agent any

    stages {
        stage('Checkout') {
            steps {
                git 'https://github.com/your-repo/your-python-project.git'
            }
        }
        stage('Build') {
            steps {
                sh 'python setup.py build'
            }
        }
        stage('Test') {
            steps {
                sh 'pytest'
            }
        }
        stage('Deploy') {
            steps {
                sh 'python setup.py install'
            }
        }
    }
}
C# (Azure Pipelines)
trigger:
- main

pool:
  vmImage: 'ubuntu-latest'

steps:
- task: UseDotNet@2
  inputs:
    packageType: 'sdk'
    version: '5.x'
    installationPath: $(Agent.ToolsDirectory)/dotnet

- script: dotnet build --configuration Release
  displayName: 'Build Project'

- script: dotnet test --no-build --configuration Release
  displayName: 'Run Tests'

- task: PublishBuildArtifacts@1
  inputs:
    PathtoPublish: '$(Build.ArtifactStagingDirectory)'
    ArtifactName: 'drop'
    publishLocation: 'Container'
C++ (GitLab CI/CD)
stages:
  - build
  - test
  - deploy

build-job:
  stage: build
  script:
    - mkdir build
    - cd build
    - cmake ..
    - make

test-job:
  stage: test
  script:
    - cd build
    - ctest

deploy-job:
  stage: deploy
  script:
    - echo "Deploying the application"
  environment:
    name: production
    url: http://your-production-url.com
  only:
    - main
Java (CircleCI)
version: 2.1

executors:
  java-executor:
    docker:
      - image: circleci/openjdk:11

jobs:
  build:
    executor: java-executor
    steps:
      - checkout
      - run:
          name: Build with Gradle
          command: ./gradlew build
      - run:
          name: Run Tests
          command: ./gradlew test

  deploy:
    executor: java-executor
    steps:
      - run:
          name: Deploy to Production
          command: ./gradlew deploy

workflows:
  version: 2
  build_and_deploy:
    jobs:
      - build
      - deploy:
          requires:
            - build
JavaScript (GitHub Actions)
name: Node.js CI

on:
  push:
    branches: [ main ]
  pull_request:
    branches: [ main ]

jobs:
  build:

    runs-on: ubuntu-latest

    steps:
    - uses: actions/checkout@v2
    - name: Use Node.js
      uses: actions/setup-node@v2
      with:
        node-version: '14'
    - run: npm install
    - run: npm run build --if-present
    - run: npm test
各言語の解説
| 言語 | ビルドツール | テストツール | デプロイ方法 | CI/CDプラットフォーム |
|---|---|---|---|---|
| Python | setup.py, pip | pytest | setup.py install | Jenkins, GitHub Actions |
| C# | dotnet CLI | NUnit, xUnit | dotnet publish | Azure Pipelines, GitHub Actions |
| C++ | CMake, Make | CTest | Custom Scripts | GitLab CI/CD, Jenkins |
| Java | Maven, Gradle | JUnit | Gradle Deploy | CircleCI, Jenkins |
| JavaScript | npm | Jest, Mocha | npm publish, Custom Scripts | GitHub Actions, CircleCI |
まとめ
ビルドパイプラインの設定は、ソフトウェア開発プロセスの自動化と品質向上に不可欠です。各プログラミング言語には、それぞれに適したビルド、テスト、デプロイツールが存在し、それらをCI/CDプラットフォームと組み合わせることで、効率的かつ信頼性の高いデプロイメントが実現できます。次回は「継続的インテグレーション(CI)のベストプラクティス」について学習しましょう。


コメント